🎉 After Your U.S. Admit: The Complete Next-Steps Checklist
First off—congratulations! 🥳 That admit email is a huge milestone. If you’re wondering “what now?”, this guide is your friendly, no-panic plan. Each step below maps to the Prep4USA Checklist, which expands into sub-steps with short YouTube videos and FAQs. Sign in with Google to unlock everything.
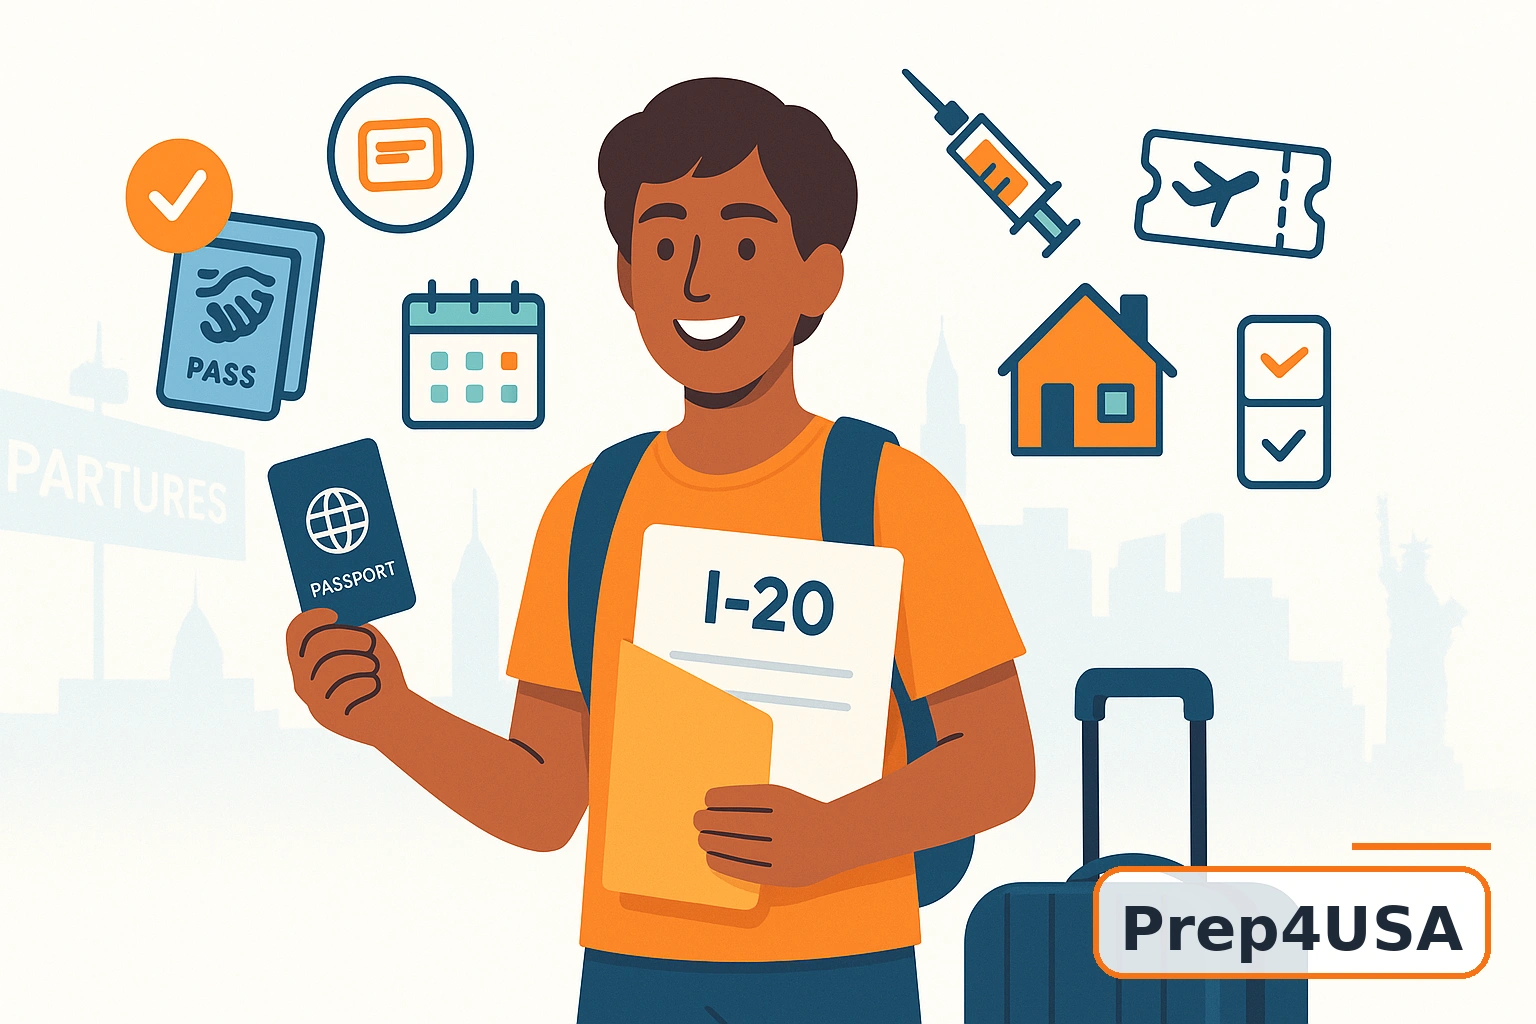
📄 Get I-20 from the University
Your I-20 lets you apply for the F-1 visa. Submit financial proof, passport, and any forms your school requests. Double-check your name, program, and start date for accuracy.
🧩 Complete Visa Application Requirements
Fill the DS-160 carefully, pay the SEVIS fee, and retain receipts. Keep your I-20, passport, financial docs, admission letter, and photos in one folder (physical + digital).
🗓️ Schedule & Prepare for the Visa Interview
Book the earliest feasible slot at your nearest consulate. Practice concise answers: why this university, funding plan, and post-study intent. Be truthful and confident.
💉 Pay for Medical Insurance & Get Vaccinated (Tdap, MMR)
Many universities auto-enroll you in a student plan unless you waive it with equivalent coverage. Check immunization requirements (often Tdap, MMR, sometimes Varicella) and carry records.
🧑🏽💻 Enroll in Courses
Meet your academic advisor, review prerequisites, and grab priority courses early. Understand credit minimums to maintain F-1 status.
✈️ Book Travel
Compare student fares and baggage allowances. Try to arrive a week or two before orientation. Keep your documents and a change of clothes in cabin baggage.
🏠 Find Accommodation & Roommates
Decide on on-campus vs off-campus. Shortlist areas near transit/grocery. Chat with seniors, verify listings, and discuss rules (guests, chores, quiet hours) with potential roommates.
🧳 Shop & Pack
Bring week-one essentials. Heavy winter gear and bulk kitchen items are easier to buy in the U.S. Keep adapters (Type A/B), a small med kit, and all documents handy.
🛫 Final Pack-Up & Leaving for the USA
Weigh bags, label them, use TSA-approved locks, and carry copies of all critical documents. Arrive at the airport early, keep calm at immigration, and declare items when required.
🔧 Set Up Essential Services
In your first week: get a SIM/eSIM, open a bank account, set up payment apps, finalize health insurance, and sort transit options. Keep emergency contacts saved.
🌟 Begin Your Journey in the USA
Attend orientation, meet professors, explore campus, and say yes to community events. The first month sets your rhythm—build habits for study, budgeting, and well-being.
Unlock the full experience: The homepage Checklist expands every step into short sub-steps, YouTube videos, and FAQs�just sign in with Google and Prep for USA!
Sign in with Google to access sub-steps, videos and FAQs.